Essentials to Start Making Content
Top 5 Essentials for Recording and Producing YouTube Videos (With Budget Tiers)
Starting a YouTube channel can be exciting, but knowing what equipment you need—and what fits your budget—can be overwhelming. This guide will break down the five key essentials for recording and producing quality videos, no matter your price range. Whether you're just starting, upgrading, or going pro, this list will help you make informed choices.
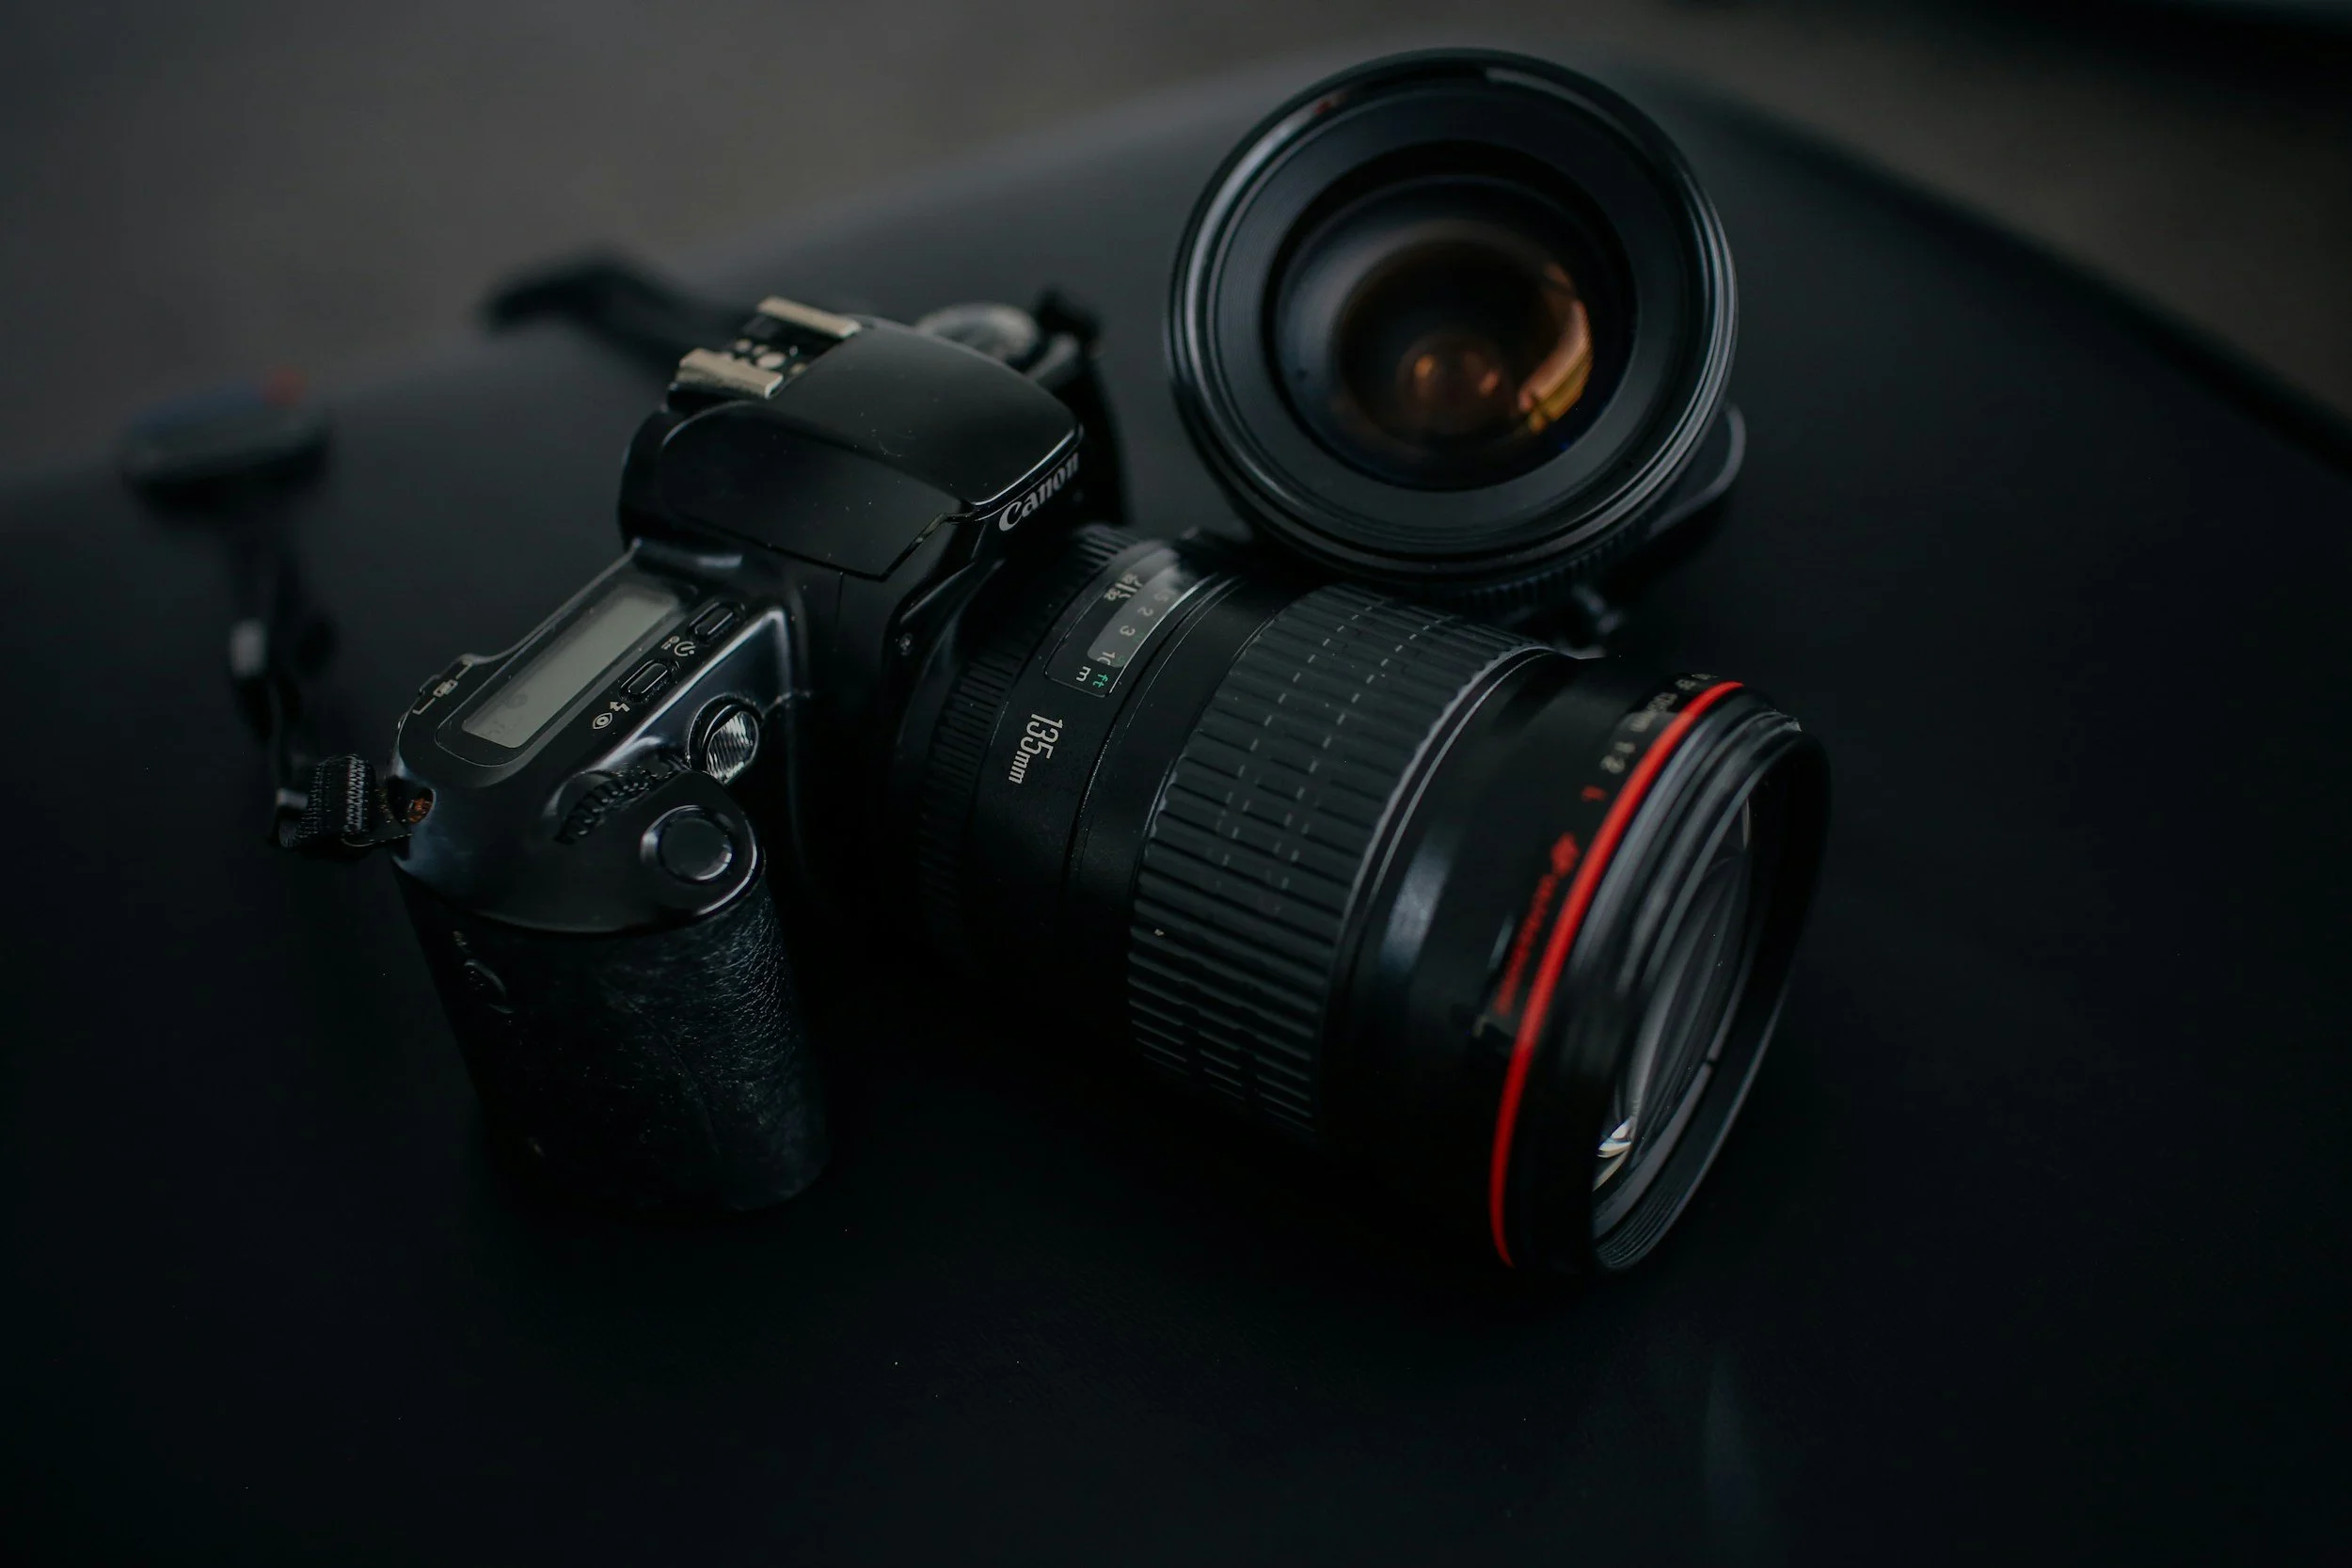
1. Camera: Capturing High-Quality Footage
Your camera is the foundation of your video production. Thankfully, there are great options at every budget level:
Budget ($0-$500): Your smartphone’s camera is your best friend. Devices like the iPhone 12+ or Samsung Galaxy S21 shoot in 4K and have solid built-in stabilization. Pair it with a simple tripod for steady shots.
Mid-Range ($500-$1500): Consider mirrorless cameras like the Sony ZV-1 or Canon EOS M50 Mark II. These offer superior image quality, interchangeable lenses, and excellent autofocus.
Professional ($1500+): For high-end production, cameras like the Sony A7S III or Canon EOS R5 deliver incredible 4K/8K footage, low-light performance, and cinematic quality.
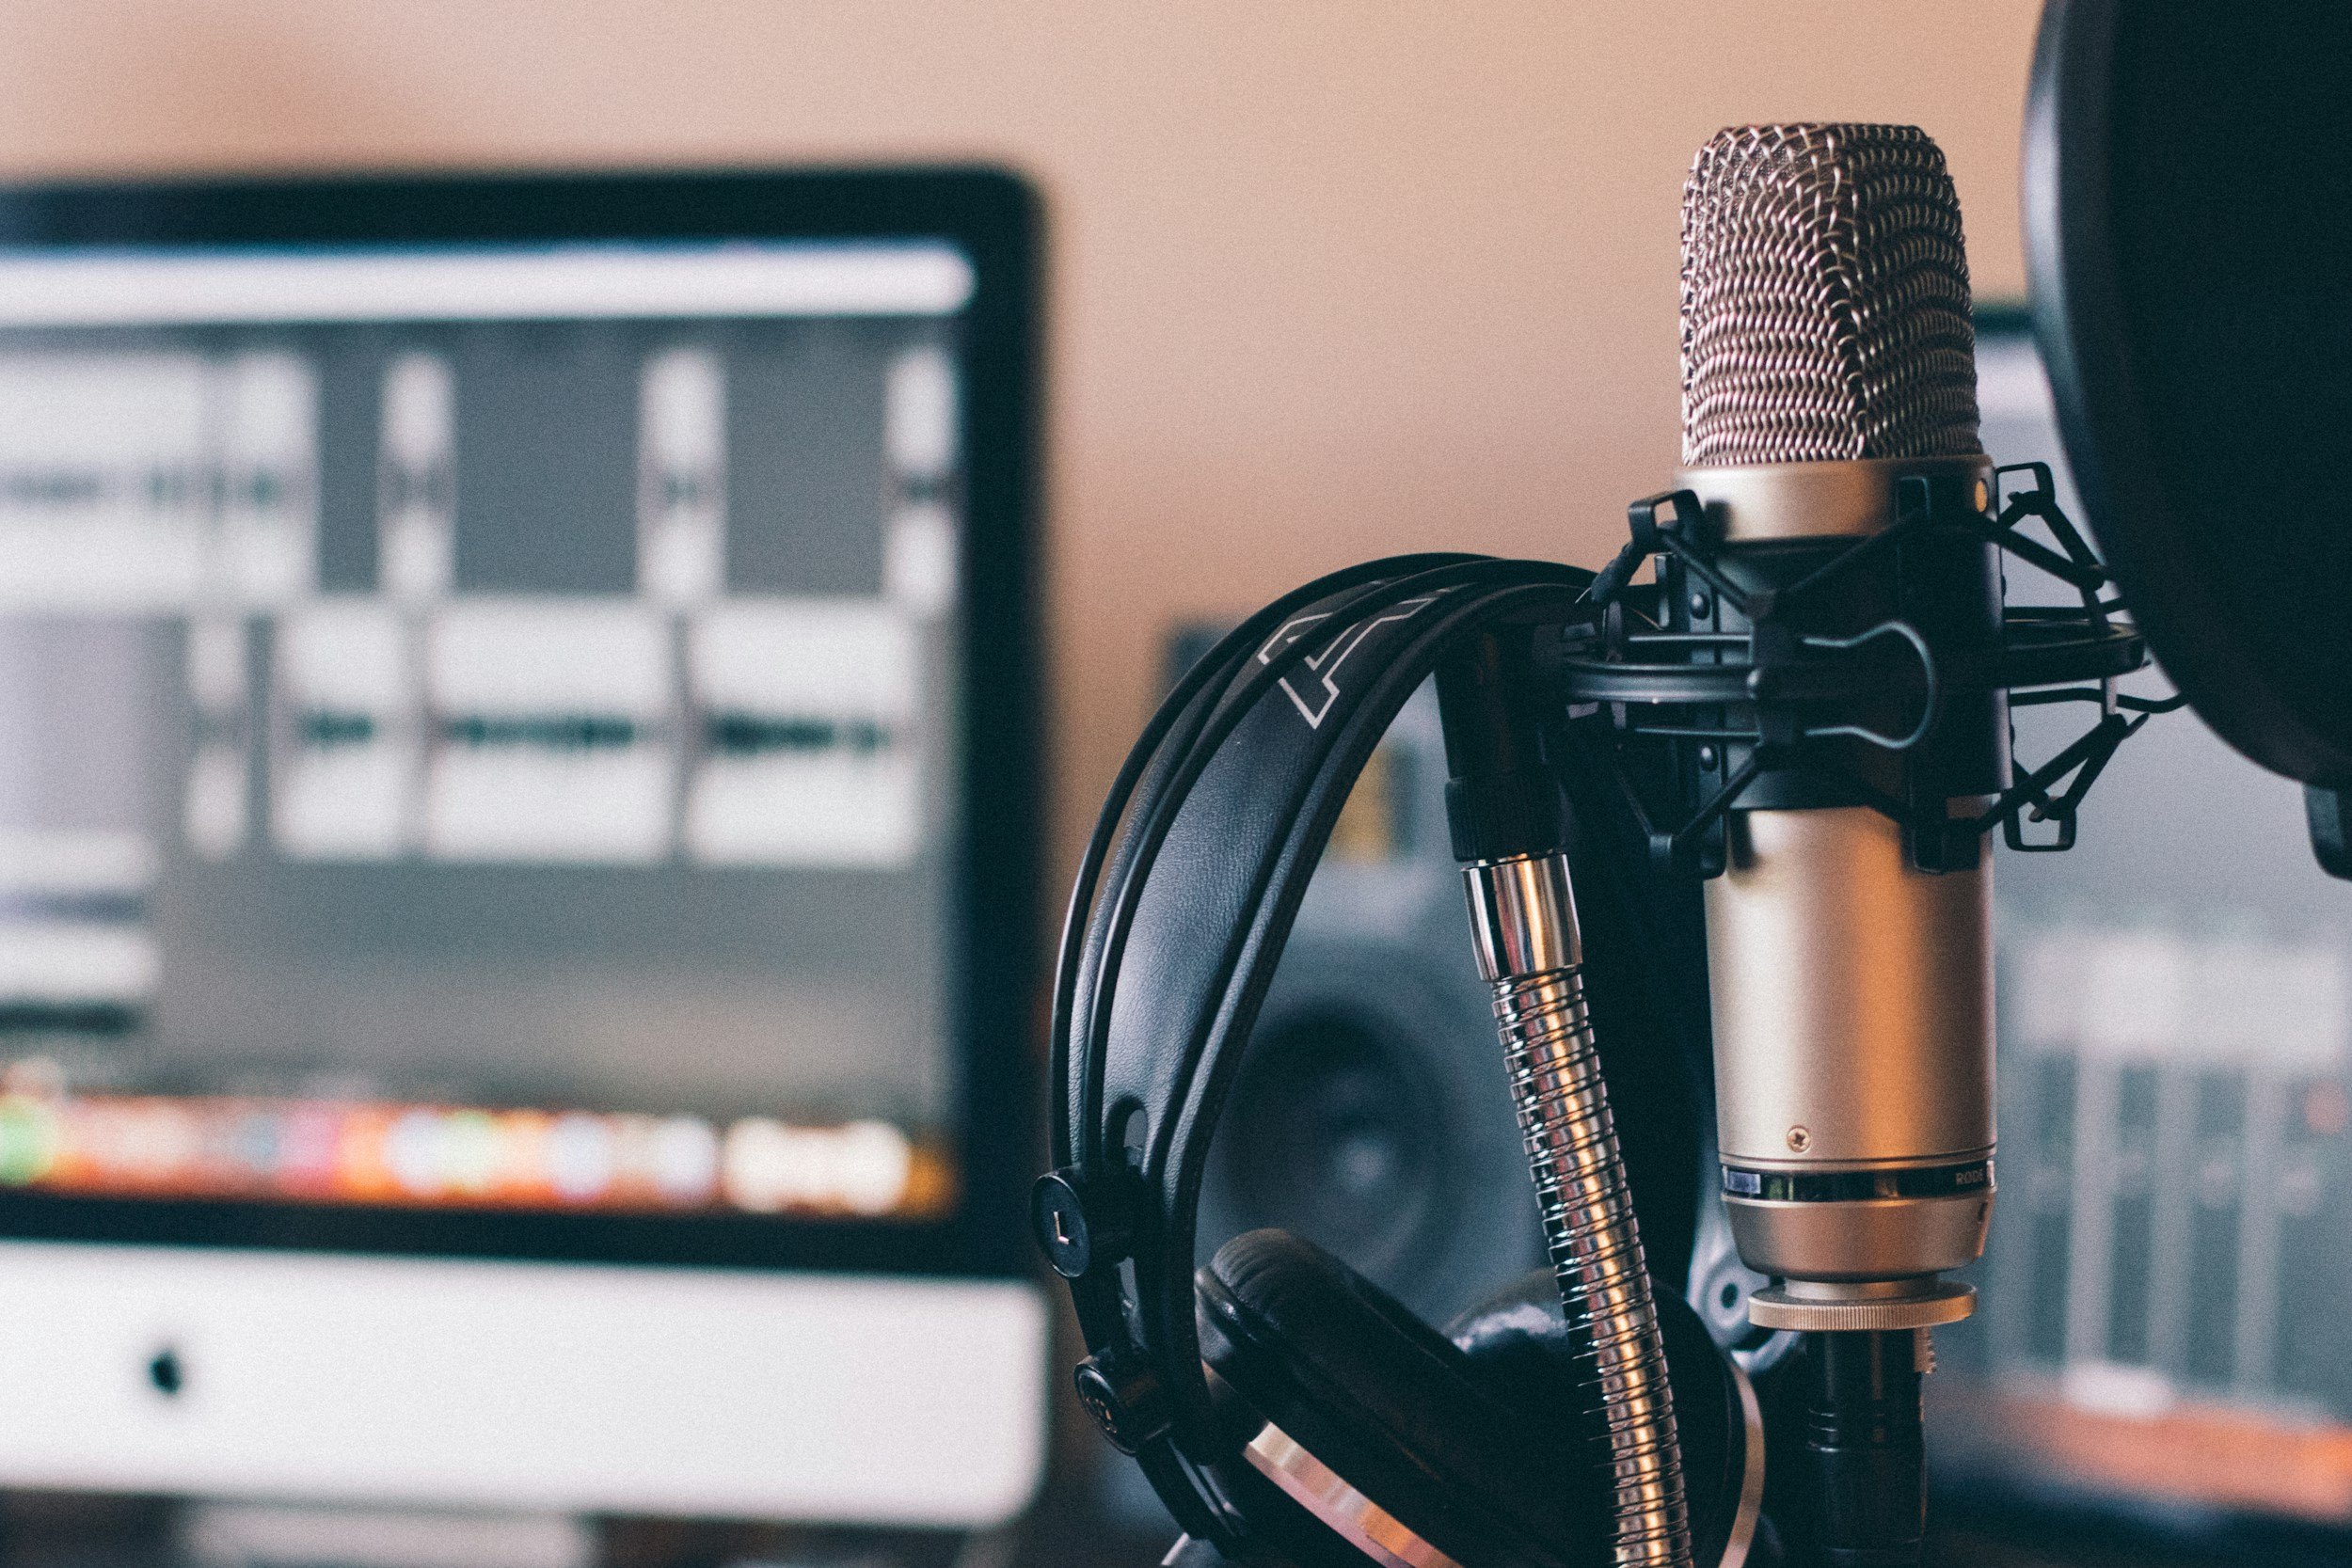
2. Audio: Because Sound Matters More Than You Think
Poor audio can ruin a great video, so investing in a good microphone is crucial.
Budget ($0-$100): A wired lavalier mic (like the Boya BY-M1) offers better audio than built-in mics for under $20. Alternatively, budget USB mics like the Fifine K669B work well for voiceovers.
Mid-Range ($100-$300): The Rode VideoMicro or Deity D4 Duo are solid shotgun mics for better directional audio, while the Blue Yeti is a great choice for USB podcast-style recording.
Professional ($300+): Wireless lavalier systems like the Rode Wireless GO II or high-end XLR shotgun mics like the Sennheiser MKE 600 give studio-quality results.
3. Lighting: Setting the Right Mood and Visibility
Good lighting can make even a budget camera look professional.
Budget ($0-$100): Natural light is free! Position yourself near a window. For a cheap artificial setup, try a ring light like the Neewer 18".
Mid-Range ($100-$300): LED softbox kits (e.g., GVM 800D) or panel lights offer more control and better lighting.
Professional ($300+): High-quality LED systems like the Aputure 120D or Nanlite Forza 60 allow full cinematic control.
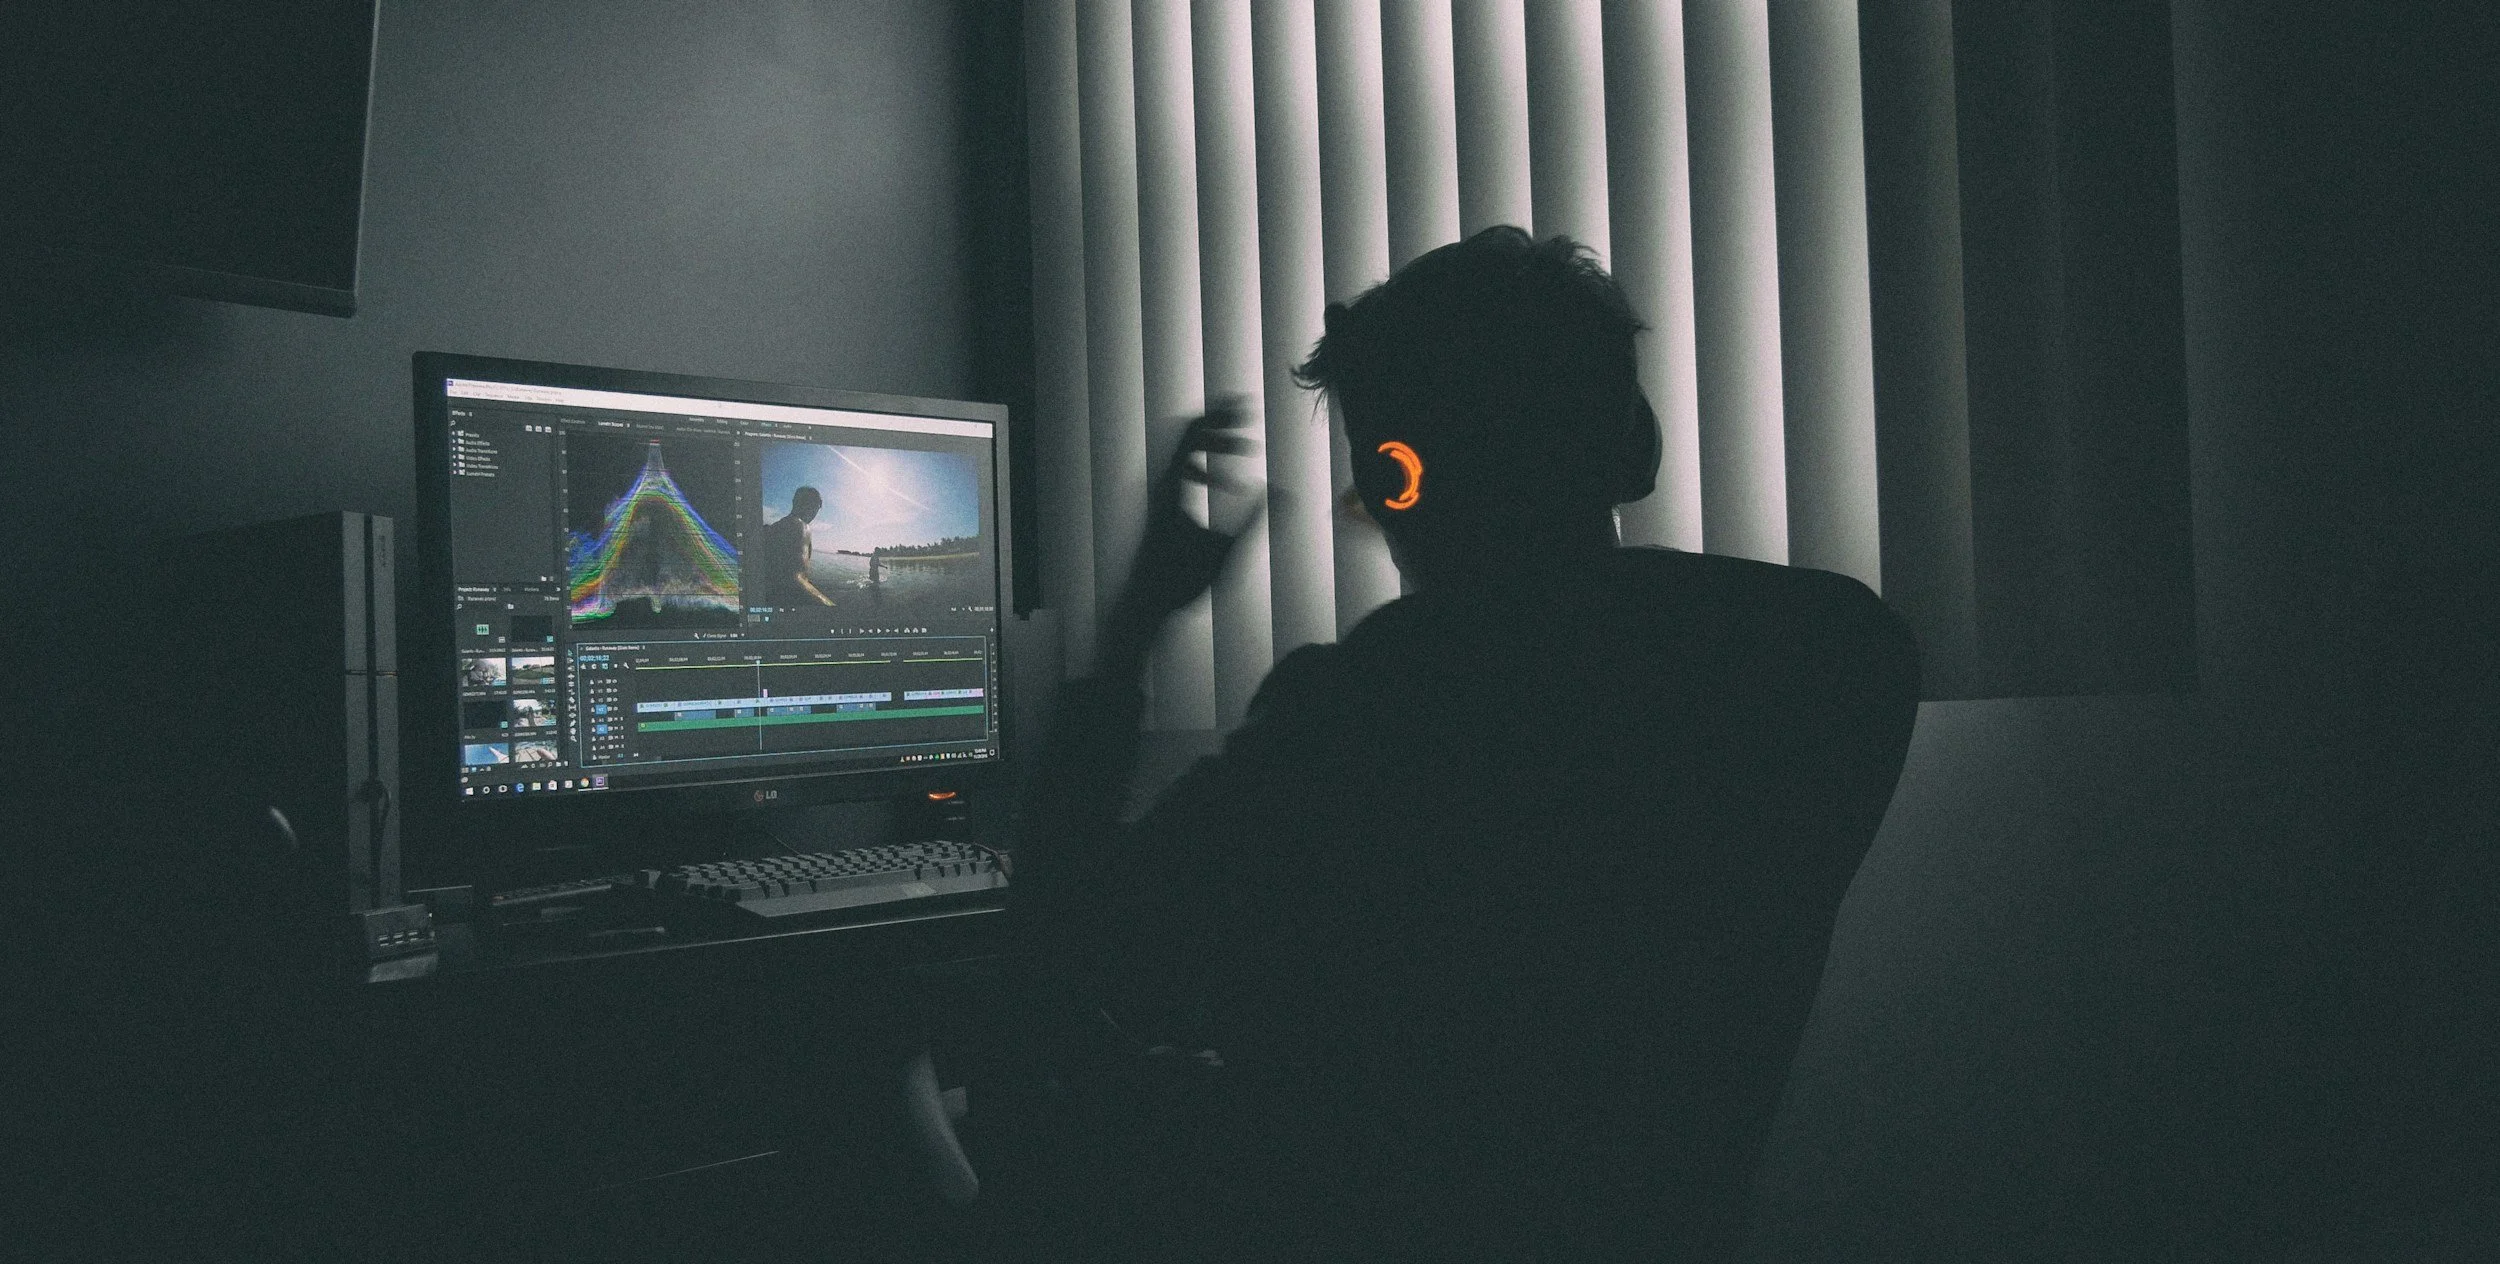
4. Editing Software: Bringing It All Together
Post-production polishes your content and enhances the viewing experience.
Budget ($0-$100): Free software like DaVinci Resolve, iMovie, or CapCut provide great editing tools without cost.
Mid-Range ($100-$300): Adobe Premiere Elements or Final Cut Pro (Mac users) offer more professional tools.
Professional ($300+ or Subscription): Adobe Premiere Pro and DaVinci Resolve Studio are industry standards for advanced editing.
5. Setup & Accessories: Stability and Efficiency
The right accessories can make filming easier and improve production quality.
Budget ($0-$50): A basic tripod (Amazon Basics 60-inch) and an affordable phone mount can make a difference.
Mid-Range ($50-$150): A sturdy tripod like the Manfrotto Compact Action, plus a simple gimbal for smooth motion shots.
Professional ($150+): High-end gimbals like the DJI RS 3 or motorized sliders for cinematic shots.
Final Thoughts: Start Where You Are
No matter your budget, you can start creating high-quality videos today. Begin with what you have and gradually upgrade as you grow. The most important thing is consistency—equipment helps, but great content is built on creativity and storytelling.
Now that you know the essentials, what will your first YouTube video be about?


